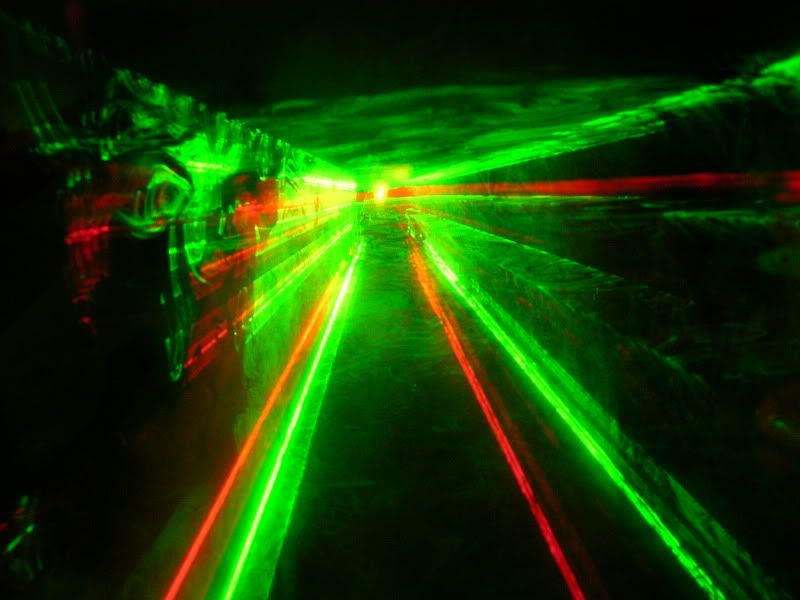
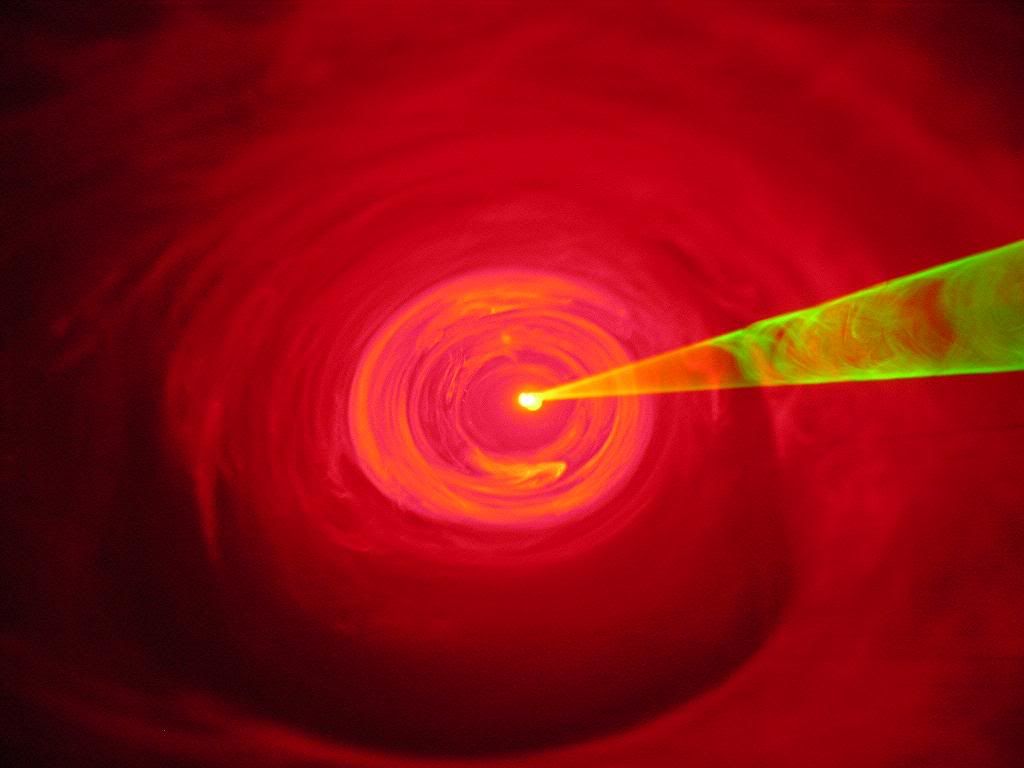
Any advice on how to take good (even great will do) photos of lasers?
In most of the pics that are posted the haze/fog is really well defined and lasers pin sharp.
I have a Sony 7.2Mpixel camera with all the usual features.
Jim
Any advice on how to take good (even great will do) photos of lasers?
In most of the pics that are posted the haze/fog is really well defined and lasers pin sharp.
I have a Sony 7.2Mpixel camera with all the usual features.
Jim
:!:
It seems I have "burnt" several pixels out of both my DV and Digi cameras by placing them in the path of the beams. Not sure if i did something "wrong" but you can see in some of my pictures and both of the latest videos I posted a few "dead" spots that were'nt there a month or so ago. :?
Love, peace, and grease,
allthat... aka: aaron@pangolin
When I take pictures I make sure I'm not it the path of the beam so it can't get directly into the lense of the camera. If it did the picture would be unusable anyhow.
What I want to take is a couple of tunnel or fan pictures.
Jim
Here are some examples of my crappy pics from last night.
HELLLPPPPPPPPPPPPPPPPP
Jim
I made a couple of cool tunnel pic yesterday. i was tryin to emulate what andy_con was doin. I think I overdid the colors though...ops: I'll toss a couple up here in a few. I'm about to synch a mp3 to video for a popelscan show I taped.
Actually to get a tunnel shot you kinda need to get the camera "into" the tunnel, hence passing through a beam. I'm not sure if the damage to my camera happened that way or from a static beam. :?
here are some of my photos, i use a nikon 8mp SLR camera.
and tips???? take your time and keep the camera stedy

Eat Sleep Lase Repeat
and my best photo

Eat Sleep Lase Repeat
Taking pictures of laser beams is tricky. Allthat already mentioned the danger of frying pixels on the CCD inside your camera... But beyond that there are a few things you can do to improve the look of your shots.
First, USE A TRIPOD. Seriously, this is probably the most important step. When you snap a picture of a laser in operation, the total amount of light entering the lens of the camera is going to be very low, thus you'll need a long exposure time. So if you're looking to avoid the blurry, smeared out look, you need to have the camera perfectly still. I don't care how rock steady you think your hand is - a tripod will be better.
Second, you want to position the camera so you are looking close to head-on at the beam. If you are 90 degrees off to one side, there will be a lot less light reflected towards the camera. But if you are just to the side of head-on, more light will reach the camera. Also, for the same position of the camera, shots that have the beam traveling towards the camera will appear brighter than shots where the beam is traveling away from the camera. So you always want to be out in front of the projector, not behind it.
Third, you'll obviously need some fog in the air, but be careful not to make it too thick. If you have too much fog it will block the light from the beam(s) in the background. This can be tricky, so start with a little fog and shoot some pictures, then add more fog and repeat. Save the pics that turn out well and chuck the rest. After doing this a few times you'll get a feel for how much fog is needed.
Fourth, don't be afraid to put your camera in manual mode and increase the exposure time. If there are other lights on in the room, even very dim ones, the camera may end up under-exposing the shot. So experiment with keeping the shutter open longer and see if the beams don't start to look brighter in the finished shot. (I've got some lame-looking pictures of a 1 watt DPSS green laser running at a show... The beam looks like it's from a modified laser pointer, it's so dim! But there were lots of intelligent lighting fixtures running at the same time, so the camera underexposed the shots.)
Finally, when trying to get great shots of the "time tunnel" effect, get the camera positioned in the center of the circle (or square, or whatever shape you are using for the tunnel) and shoot a few pics first just to make sure you like where the camera is. Then, activate your fogger and start snapping pictures as the FRESH fog moves through the beam path. You'll be able to capture the random paisley-like patterns in amazing detail. You don't need a lot of fog, but you do need that fresh blast... (When the fog first starts to mix with the air, the density changes pretty radically within the expanding fog cloud. That density variation creates the cool patterns you see.)
Adam
I find my Canon Powershot A70 (and even my older a40 that got stolen) does a nice job of taking AWESOME laser photos in "auto mode"....
I find Daves camera, the model escapes me, sucks dog balls at taking laser shots.
Buy a canon
Now proudly stocking and offering the best deals on laser-wave
www.lasershowparts.com
http://stores.ebay.com.au/Lasershow-Parts
You can always keep the lens covered when getting into the tunnelActually to get a tunnel shot you kinda need to get the camera "into" the tunnel, hence passing through a beam.. Also, depending on the laser's power, that kind of abuse won't result in dead pixels. For that, you'll need a rather powerful laser, I think. As the laser is scanning, the power is somewhat reduced on any given point. Don't get me wrong though, I'm not saying that doing that is safe, always cover your lenses before it can get into the beam, just in case

A standing beam is the most dangerous for the pixels, as the entire energy is being focused onto it/them.
All things considered, my camera also has several dead pixels, but I find it rather easy to fix with photoshop (or any other photo retouching software)
Remember the future?, That'd today, as you imagined it yesterday.
