Page 2 of 4 FirstFirst 1234 LastLast
Results 11 to 20 of 38

Thread: Started building DT40 RGY scanner

  1. #11
    Join Date
    Dec 2006
    Location
    Pflugerville, TX, USA
    Posts
    1,977

    Default

    If you are worried about moisture you could spray it with a few coats or paint and/or polyurethane. Personally, I'd go over it with a few coats of poly, using very fine steel wool between coats. That will seal it and make it smooth as glass which makes it easy to dust.

  2. #12
    Join Date
    Apr 2007
    Location
    Toronto Canada
    Posts
    1,120

    Default

    Thick sheet of aluminum = 30$
    Set tap and die = 60$
    Set of drills = 30$

    I insist on aluminum for a base.!!
    I hired an Italian guy to do my wires. Now they look like spaghetti!

  3. #13
    Join Date
    Dec 2006
    Location
    Essex, UK
    Posts
    8,648

    Default

    yeah $30 and like $50 shipping to the UK!!!

    wood works just as well, i have heat sinked everything
    Eat Sleep Lase Repeat

  4. #14
    Join Date
    Mar 2006
    Posts
    2,478

    Default

    Quote Originally Posted by andy_con View Post
    yeah $30 and like $50 shipping to the UK!!!
    Well, that's why you buy it locally. Finding a thick sheet of aluminium is a damn sight easier than finding 2" x 1/8" copper...

    While that MDF (looks like MDF anyway) is ok for rigidity in loudspeakers, and might provide good damped walls for a laser box, a thick Al baseplate is the only way to go, it's not just as good as you can get short of ceramic or synthesized diamond, it's also cheap enough to consider seriously as a starting point. Acetal plastic makes good walls, it's easy to work, and very tough, but it's heavy and expensive.

    Having lots of fans isn't always good. They might as well be hotplates if you don't do it right. All the turbulence you'll have there will weaken their effectiveness dramatically. Better to mount on a base plate, lasers and PSU's grouped separately, and pass air from one BIG fan slowly over the whole lot, lasers first, PSU's last, in a single clean pass through the box from one end to the other. Heat management needs design, you'll never make it good if you add it on as an afterthought.

  5. #15
    Join Date
    Apr 2007
    Location
    Toronto Canada
    Posts
    1,120

    Default

    I have about 5 places which will sell aluminum and will cut it for me. I have about 5 machine shops that will do any milling laser cutting or punching for me. (Thats the ones I know...there about 20 more I don't know about) The city has only 450k population. I'm pretty sure that your city has at least 1 metal shop and 1 machine shop. And it's not that expensive to do even for hobbyist.
    I hired an Italian guy to do my wires. Now they look like spaghetti!

  6. #16
    Join Date
    Dec 2006
    Location
    Essex, UK
    Posts
    8,648

    Default

    na im gona stick with wood.

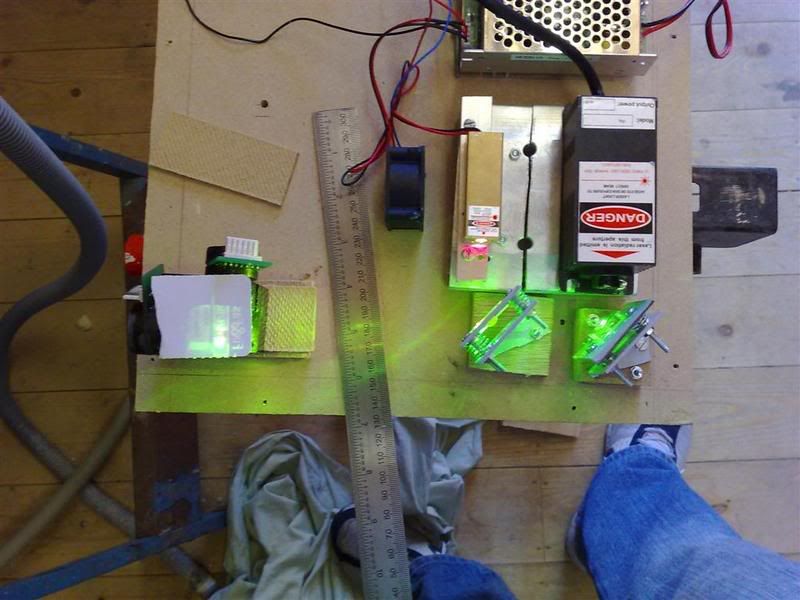
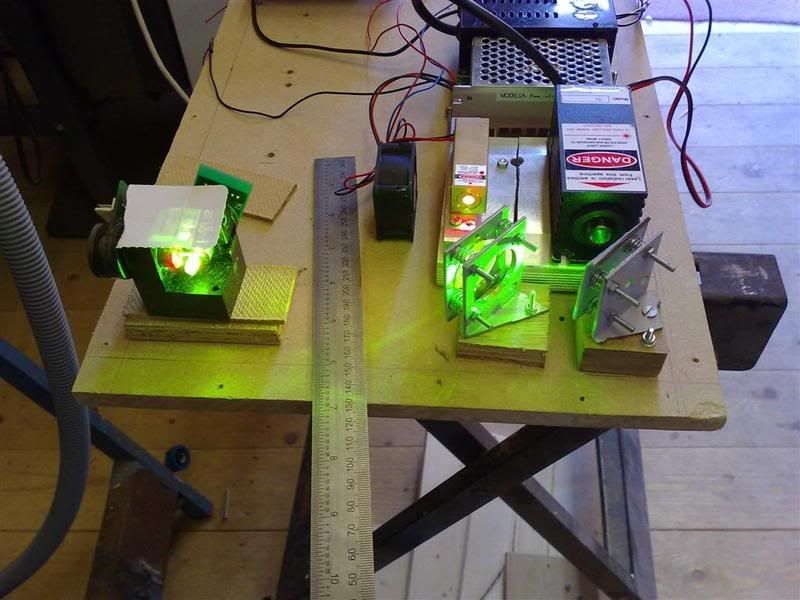
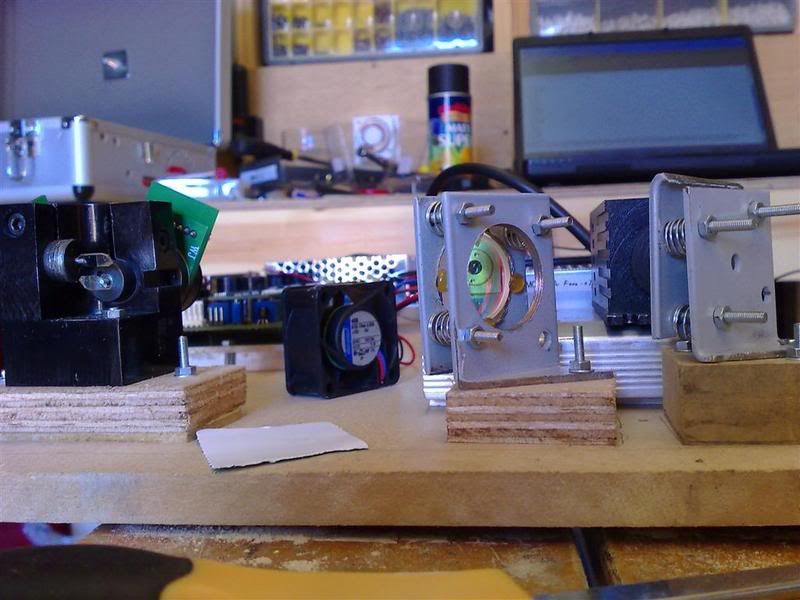
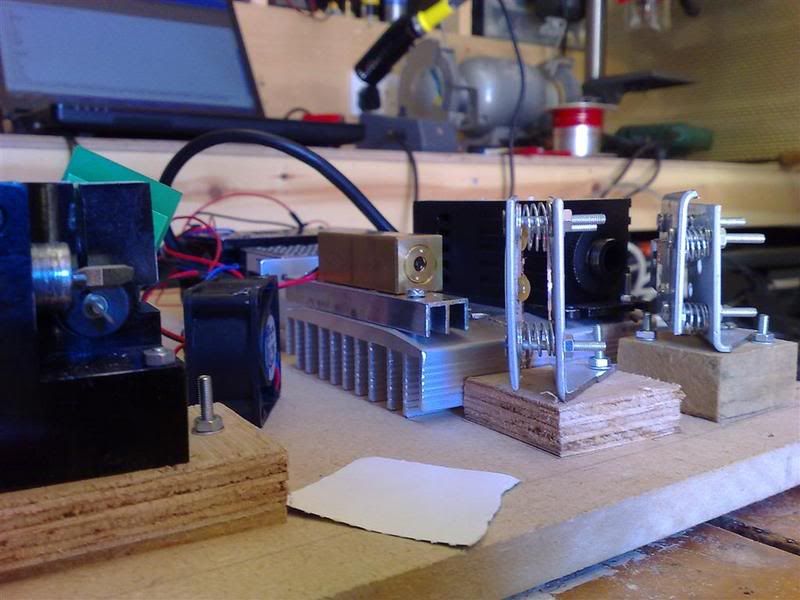
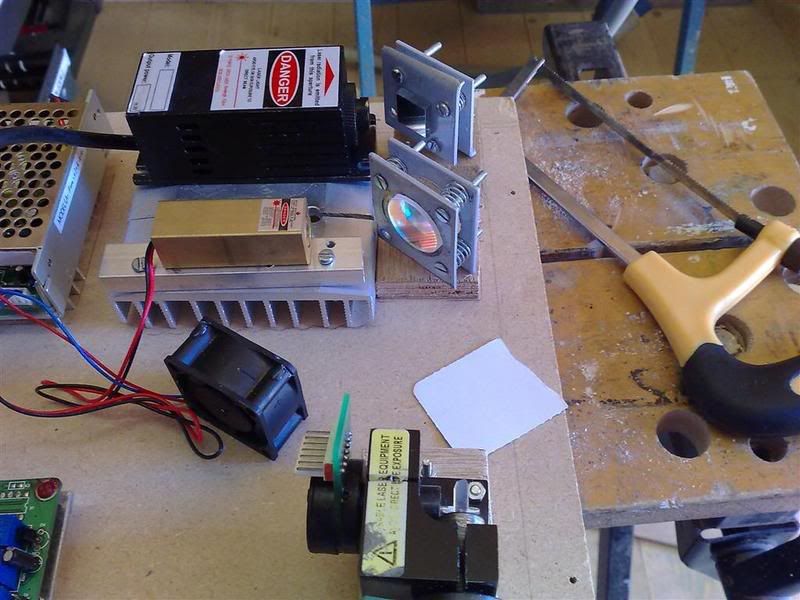
    heres how its getting along, got ym dichro and its all lines up perfect now


    Eat Sleep Lase Repeat

  7. #17
    Join Date
    Dec 2006
    Location
    Essex, UK
    Posts
    8,648

    Default

    ok nearly finished building my scanners, heres the first vid

    when i was in my shed testing i got really crap results from the dt40, but now they are all in and working there are fooking ace!!!

    http://s80.photobucket.com/albums/j1...6062007073.flv
    Eat Sleep Lase Repeat

  8. #18
    Join Date
    Jan 2006
    Location
    Charleston, SC
    Posts
    2,147,489,459

    Default

    Looking good in that video... I don't see any red though. Are you still aligning everything, or was it just that the frame you were displaying was green only?

    Adam

  9. #19
    Join Date
    Dec 2006
    Location
    Essex, UK
    Posts
    8,648

    Default

    neither LOL

    i blew my red, i put 240v to the TTL

    i do have the die4laser driver just having issues with it
    Eat Sleep Lase Repeat

  10. #20
    Join Date
    Jan 2006
    Location
    Charleston, SC
    Posts
    2,147,489,459

    Default

    Oh... I remember that thread where you talked about blowing the laser by putting 220VAC on the blanking lead, but I didn't make the connection that it was the red laser you were installing in this projector.

    Bummer dude... Hope you can get that thing fixed.

    Adam

Posting Permissions

  • You may not post new threads
  • You may not post replies
  • You may not post attachments
  • You may not edit your posts
  •